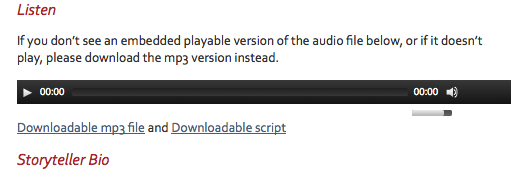
These instructions show you how to create an embedded audio player that plays your audio file.
FIRST follow these steps:
- Make sure your audio file was correctly exported to mp3 format. Double-check the instructions for GarageBand or Audacity
- Create a new blog post, give it a subject line, and assign it to the correct category.
Then follow the steps below.
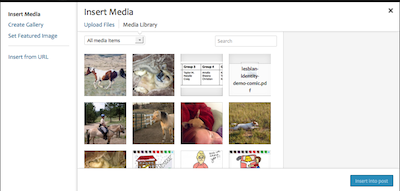
(1) Click the “Add Media” button, which launches this window:
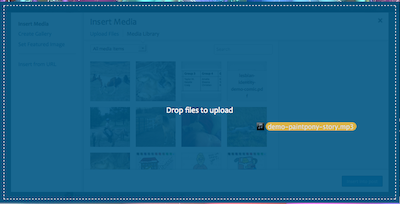
(2) Drag your mp3 file onto the window:
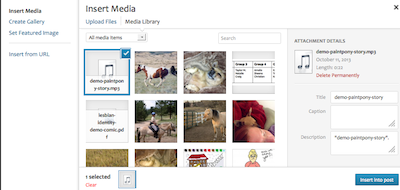
(3) After the file has been uploaded, click the blue “Insert into post” button in the lower right corner:
The audio embed code will appear in your post, like this:

(4) Because the embedded audio player won’t work on all browsers and devices, also create a link to the mp3 file so that users can download it, if necessary. Start by selecting ONLY the URL for the audio file (without the quotation marks), like this:

(5) Type the phrase “Downloadable mp3 file,” select it, and click the link button in the toolbar menu (the one that looks like a piece of chain link).
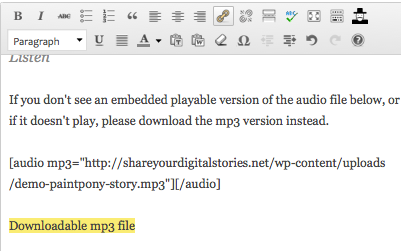
In the insert link pop-up box, paste the URL to the mp3 file and click the blue Add Link button:
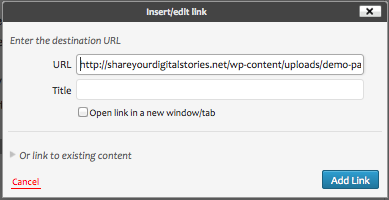
Now you should see a hyperlink below the embed code.
(6) Click the Add Media button again and upload your audio script. When you insert it into your post, you should end up with something like this:

(7) Publish your post and view it on the blog’s “front end.” This is what the portion I demonstrated above looks like, and yours should look similar (but test out the embedded audio player as well as the links to make sure they work):
